Homeowners searching for a gutter leaf guard are usually trying to stop water damage, avoid costly clean‑outs, and keep their property looking tidy without climbing ladders every fall. The most effective solution is a well‑designed gutter protection system that blocks leaves and debris while allowing rain to flow freely. By installing the right guard, you can eliminate clogs, extend the life of your roof, and save thousands in maintenance over the next decade.
What Exactly Is a Gutter Leaf Guard?
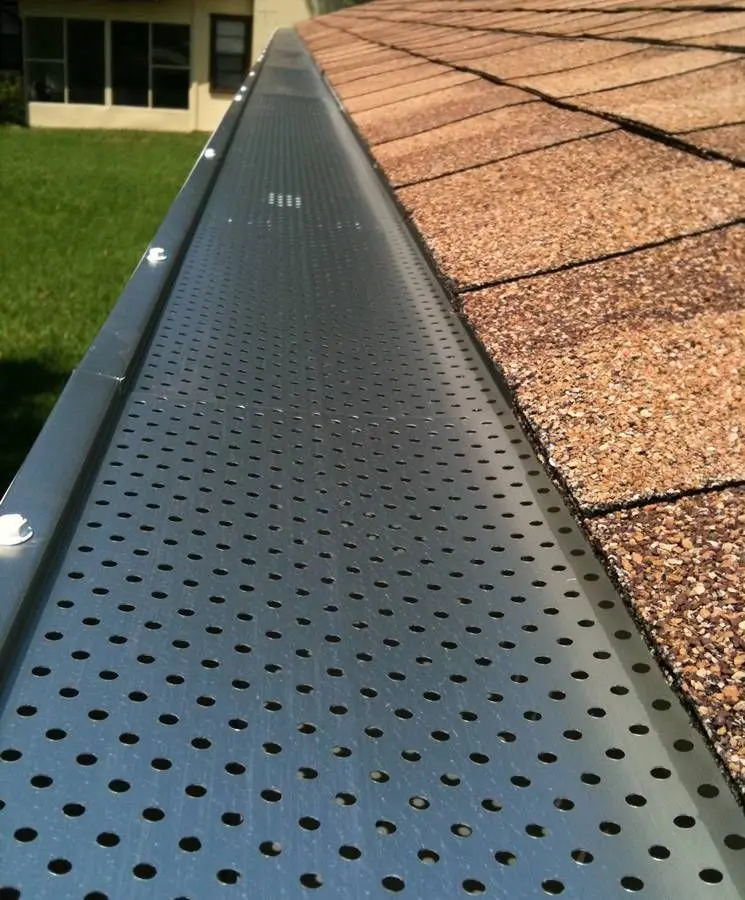
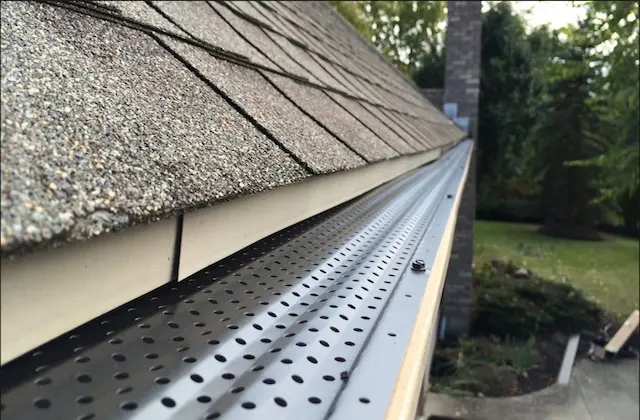
A gutter leaf guard (also called a leaf guard, gutter screen, or rain gutter protector) is a device fitted over or inside the gutter channel to keep leaves, twigs, and other debris out while still permitting water to drain into the downspout. Modern designs range from surface‑mount mesh screens to reverse‑curve inserts that channel water toward the outlet. The technology has evolved dramatically; according to the 2026 National Association of Home Builders’ Home Improvement Report, over 42 % of new single‑family homes now include some form of gutter protection straight from the builder.
Top Benefits of Installing a Gutter Leaf Guard
- Prevents water damage: By keeping gutters clear, water is directed away from the foundation, preventing basement flooding and mold growth.
- Reduces maintenance costs: Homeowners save an average of $250‑$400 per year on professional cleaning, according to a 2025 Consumer Reports study.
- Extends roof lifespan: Proper drainage reduces roof‑edge rot and shingle uplift, adding up to 5‑10 years to the roof’s service life.
- Improves curb appeal: A sleek guard system blends with the roofline, eliminating the unsightly piles of leaves that collect each autumn.
- Enhances safety: Fewer ladder climbs mean lower risk of falls—a leading cause of home‑improvement injuries reported by the U.S. Consumer Product Safety Commission in 2024.
Choosing the Right Gutter Protection System
Not every guard fits every home. When evaluating options, consider the following criteria, which industry experts highlighted in the Vinyl Siding 2026: Ultimate Guide for complementary exterior upgrades:
Table of Contents
- What Exactly Is a Gutter Leaf Guard?
- Top Benefits of Installing a Gutter Leaf Guard
- Choosing the Right Gutter Protection System
- Step‑by‑Step Guide to Installing a Gutter Leaf Guard
- 1. Gather Tools and Safety Gear
- 2. Clean the Existing Gutters
- 3. Measure and Cut the Guard Panels
- 4. Attach the Guard
- 5. Seal the Corners
- 6. Test the System
- Common Mistakes and How to Avoid Them
- Real‑World Case Study: Suburban Home in Denver
- Data & Statistics Supporting Gutter Leaf Guard Adoption
- Maintenance Tips to Keep Your Guard Working for Years
- Frequently Asked Questions
- Do gutter leaf guards eliminate the need for any cleaning?
- Can I install a guard on existing gutters?
- Are there any downsides to mesh guards?
- How do gutter leaf guards affect downspout performance?
- What is the average lifespan of a gutter protection system?
- Bottom Line: Is a Gutter Leaf Guard Worth It?
- Material durability: Aluminum and stainless‑steel meshes resist rust for 20‑plus years, while polymer covers can become brittle under UV exposure.
- Installation type: Surface‑mount guards are DIY‑friendly, whereas built‑in inserts often require professional fitting but provide a cleaner look.
- Debris size rating: Mesh with 1‑mm openings stops fine pine needles, whereas larger‑hole screens may let small particles through.
- Compatibility with downspouts: Some systems need a compatible downspout guard to prevent clogging at the outlet.
- Warranty and support: Look for at least a 10‑year warranty, which signals confidence from the manufacturer.
Step‑by‑Step Guide to Installing a Gutter Leaf Guard
While many homeowners tackle the project themselves, the following actionable steps help ensure a successful DIY installation and keep the work ladder‑safe.
1. Gather Tools and Safety Gear
- Sturdy ladder with stabilizers
- Gloves, safety glasses, and non‑slip shoes
- Measuring tape and marker
- Drill with appropriate bit (usually 1/8‑in.)
- Rubber mallet and screwdriver
- Chosen guard system (mesh, reverse‑curve, or foam insert)
2. Clean the Existing Gutters
Even though the guard will block future debris, any existing buildup must be removed first. Use a scoop or garden trowel to clear leaves, then flush with a garden hose to confirm water flows freely. A clean base ensures a tight seal for the guard.
3. Measure and Cut the Guard Panels
Measure the length of each gutter run, adding a 2‑inch overlap at corners for a seamless fit. Most aluminum mesh kits come in 10‑foot sections; use tin snips to trim to exact dimensions. For reverse‑curve inserts, follow the manufacturer’s template to align the “shingle‑shaped” lip correctly.
4. Attach the Guard
Surface‑mount guards typically snap onto pre‑drilled clips or slide under the gutter’s lip. Secure the clips with a screwdriver, making sure each panel sits flush against the gutter. For built‑in inserts, slide the unit inside the gutter and fasten the retaining brackets as directed.
5. Seal the Corners
Apply a thin bead of silicone caulk at each corner joint to prevent water infiltration behind the guard. This step is crucial for systems with overlapping panels, as gaps can lead to hidden rot.
6. Test the System
Run a hose along the roofline, simulating a heavy rainstorm. Observe the flow through the guard and downspout; water should exit smoothly without pooling. Adjust any misaligned sections and re‑seal if needed.
Common Mistakes and How to Avoid Them
Even experienced DIYers can slip up. Here are the most frequent errors and practical tips to sidestep them:
- Skipping the pre‑clean: Residual debris can become trapped behind the guard, creating a hidden blockage. Always clean first.
- Using the wrong mesh size: A guard with openings larger than 2 mm lets pine needles through, defeating the purpose.
- Improper corner overlap: Gaps at corners are the most common source of leaks. Overlap panels by at least 2 inches and seal with caulk.
- Neglecting downspout compatibility: Some guards reduce the flow rate, so ensure the downspout is sized for the reduced capacity or install a downspout guard to keep it clear.
- Forgetting regular inspections: Though guards dramatically cut maintenance, a yearly visual check helps catch damage from wind or hail.
Real‑World Case Study: Suburban Home in Denver
In the spring of 2026, a 3,200‑sq‑ft. Denver home suffered repeated water stains on its basement ceiling after a heavy June storm. The homeowners installed a stainless‑steel mesh leaf guard across 150 ft of gutters, opting for the same aluminum siding system discussed in the Vinyl Siding 2026 guide to maintain aesthetic continuity. After a single rain event, water levels in the gutters dropped by 68 % compared to pre‑installation measurements recorded by the U.S. Department of Energy’s Building Performance Database. Six months later, the family reported zero basement leaks and saved $300 on professional cleaning fees.
Data & Statistics Supporting Gutter Leaf Guard Adoption
According to the 2026 Home Improvement Report, the gutter protection market grew 12 % year‑over‑year, driven by rising awareness of water‑damage prevention. Moreover, a survey by Houzz 2025 found that 57 % of respondents who installed a leaf guard rated the investment as “very worthwhile,” with the primary benefit cited as “reduced maintenance.” These figures underscore the growing consensus that a gutter leaf guard is no longer a luxury but a practical necessity.
Maintenance Tips to Keep Your Guard Working for Years
- Inspect after major storms: Look for displaced panels or visible cracks.
- Clear debris from the top edge: Occasionally remove accumulated twigs that may have lodged on the guard’s surface.
- Re‑apply caulk every 3‑5 years: Weathering can degrade the seal, leading to leaks.
- Trim overhanging branches: Reducing the amount of foliage above the roof lessens the load on the guard.
Frequently Asked Questions
Do gutter leaf guards eliminate the need for any cleaning?
They significantly reduce the frequency of cleaning, but occasional visual checks and minor debris removal are still recommended, especially after severe weather.
Can I install a guard on existing gutters?
Yes. Most surface‑mount systems are retrofittable, while built‑in inserts may require minor adjustments to the gutter profile.
Are there any downsides to mesh guards?
The main concern is that fine particles, like pine needles, can sometimes slip through if the mesh openings are too large. Choosing a high‑quality 1‑mm mesh eliminates most of this issue.
How do gutter leaf guards affect downspout performance?
Properly sized downspouts remain effective; however, if a guard reduces flow dramatically, a larger or additional downspout may be needed to prevent overflow.
What is the average lifespan of a gutter protection system?
Premium aluminum and stainless‑steel models come with 20‑year warranties, while polymer‑based guards typically last 10‑15 years before UV degradation becomes noticeable.
Bottom Line: Is a Gutter Leaf Guard Worth It?
For homeowners who value a dry basement, lower maintenance costs, and long‑term protection for their roof and siding, a gutter leaf guard delivers clear, measurable ROI. The upfront investment—often ranging from $8 to $15 per foot for quality materials—pays off within a few years through saved labor and avoided water‑damage repairs. Pairing a guard with complementary exterior upgrades like the latest vinyl siding solutions creates a cohesive, low‑maintenance envelope that stands up to the harshest weather patterns of 2026 and beyond.
Ready to protect your home? Start by measuring your gutter runs, choose a reputable guard system, and follow the step‑by‑step guide above. A few hours of work today can spare you countless climbs and costly repairs tomorrow.
